
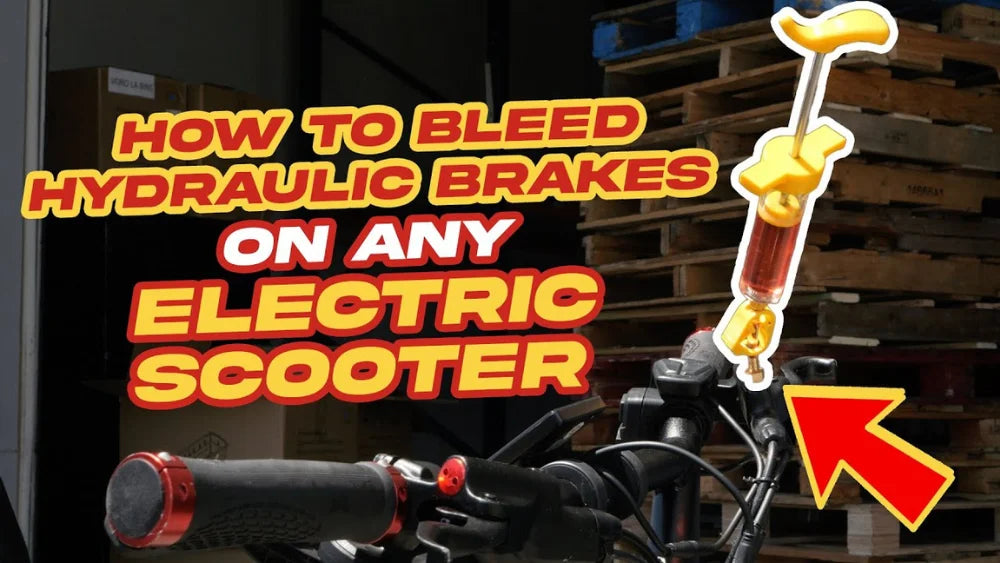
Bleeding hydraulic brakes is a crucial maintenance task for many electric scooter owners, one that can ensure optimal performance, safety, and longevity of your beloved e-scooter. If you've been noticing a decrease in your electric scooter's brake efficiency, or if the brake lever feels spongy when you press it, then it's time to bleed the brakes. It might sound like a technical task exclusively reserved for seasoned mechanics, but with the right guidance, you too can master this routine. So let's roll up our sleeves, grab our tools, and get started!
Basics of Electric Scooters and Hydraulic Brakes
Electric scooters, with their burgeoning popularity, are being recognized for their simplicity, convenience, and eco-friendliness. However, like all vehicles, they rely on a sound braking system for safe operation. Mechanical disc brakes require more physical effort to squeeze the brake levers than hydraulic disc brakes. Hydraulic braking systems use fluid to increase the pressure inside the brake lines, more efficiently transferring it from the control mechanism to the braking mechanism, ultimately slowing down or stopping your scooter. It's a simple yet effective system, but it requires proper maintenance, a significant part of which is bleeding the brakes.
Identifying the Need to Bleed Your Scooter's Hydraulic Brakes
Bleeding brakes involves removing any air bubbles trapped in the brake fluid. These air bubbles can significantly affect the performance of your hydraulic brakes. Recognizing when your electric scooter's hydraulic brakes need bleeding is essential. Leaving them unchecked can lead to poor performance and even accidents. But how can you tell if your scooter's hydraulic brakes need bleeding?
Common Symptoms of Air in the Brake Lines
The most common tell-tale sign is a soft or spongy feeling when you squeeze the brake lever. Instead of a firm resistance, the lever may feel squishy or easier to pull than usual. Other symptoms include decreased braking power, a pulling sensation when braking, or the scooter not stopping promptly. If you notice any of these signs, it's high time to bleed the hydraulic brakes on your electric scooter.
Effects of Delayed Brake Bleeding
Neglecting to bleed your brakes not only compromises safety but also paves the way for costly repairs. Over time, these air bubbles can corrode the brake lines, adding to the expenses incurred for repairs. The air bubbles within the brake fluid have the tendency to expand under the heat generated during braking. This expansion significantly reduces the brake system's effectiveness, increasing the risk of brake failure—an unacceptable hazard for any scooter rider.
Safety Concerns
Safety is paramount when riding an electric scooter. Properly maintained hydraulic brakes will ensure a more responsive stopping power, contributing to safer rides.
A properly functioning brake system is vital for safe riding. Delayed brake bleeding, as stated earlier, increases the risk of brake failure, posing a significant safety concern, which can potentially lead to accidents.
How to Bleed Hydraulic Brakes on Electric Scooters
Now that we've established the why, let's focus on the how. Bleeding hydraulic brakes may seem daunting at first, but with the right tools and a step-by-step guide, they can be accomplished in no time. It's a task you can tackle yourself!

In this guide, we’ll be bleeding the rear hydraulic disc brake on the Wolf Warrior X GT electric scooter. This entire process also applies to the front hydraulic brake or any other electric scooters with the same system.
Tools
- 3 mm hex key
- 4 mm hex key
- 5 mm hex key
- T20 star piece hex key
- Cloth or towel
- 2 syringes
- Brake pad block
- Brake fluid
- Brake bleed kit
Removing the Electric Scooter Brake Caliper

1. First, using a 5 mm hex key, loosen and remove the nut connecting the brake caliper and rotor.
2. Now that the brake caliper is detached, use a 3 mm hex key to unscrew the small nut on the brake caliper. Keep in mind that there may be some dripping brake fluid, so make sure to have a towel ready to catch any spills and wipe them off.
Eliminating the Air Bubbles and Replacing the Brake Fluid
1. Insert the brake pad block between the pads.
2. Prepare the appropriate syringe nozzle that fits into the brake caliper hole of your electric scooter. In this case, we'll use the 3 mm nozzle.
3. Attach the nozzle to the first syringe.
4. Now, fill the syringe with brake fluid.
5. Press the syringe to eliminate any air bubbles. Repeat this process until there are no bubbles, taking care not to let the brake fluid flow out.

6. Insert the syringe with the nozzle into the brake caliper hole and hang it in a comfortable position on the electric scooter without having to hold it manually.
7. Now, adjust the top part of the electric scooter. Use a 4 mm hex key to loosen the brake lever from the handlebar, allowing you to position it level and flat.

8. With a T20 star piece hex key, unscrew the small nut on the brake lever, making sure not to misplace the O-ring. Keep the O-ring aside as it will be needed to place on the nozzle of the second syringe.
9. Fill the second syringe with brake fluid.
10. Once again, press the syringe to remove any air bubbles.
11. Using your hands, insert and tighten the second syringe onto the brake lever.

12. Push on the second syringe until it is empty, ensuring all the brake fluid is expelled. This step helps eliminate air bubbles from the brake caliper's end.
13. Now, move to the rear of the electric scooter and push on the first syringe until it is empty.
14. Repeat this process back and forth between the front and rear of the electric scooter until all air bubbles are eliminated.
15. Lastly, pinch the valve of the brake lever syringe to prevent excess brake fluid from flowing back into the brake line.
Reinstalling the Brake Caliper and Brake Lever

1. Let's start with the rear of the electric scooter. Remove the syringe from the brake caliper, and promptly screw the small nut back in place using the 3 mm hex key. Wipe off any excess brake fluid.
2. Now, remove the brake pad block and utilize the 5 mm hex key to screw the nut back, connecting the brake caliper to the rotor.
3. Moving on to the front of the electric scooter, remove the syringe from the brake lever. Take the O-ring off the syringe nozzle and use the T20 star piece hex key to screw it back with the small nut, ensuring the brake lever is securely attached to the handlebar.
Testing the Electric Scooter Brakes
Now that you have finished bleeding the hydraulic brakes, it's time to test them out! When you engage the brake lever, it should feel tight and offer firm resistance, stopping halfway before reaching the handlebar grip. In case you hear a rubbing sound, you can easily resolve it by realigning the brake caliper with the rotor.
Conclusion
Hydraulic brakes are a vital component of your ride, and keeping them free of air is key to ensuring they work effectively when you need them most. Following the steps we've outlined, you are now equipped to take the maintenance of your electric scooter into your own hands, even without prior mechanical experience.
Regular maintenance is a significant part of riding an electric scooter, and by learning to do it yourself, you're not only saving money but also becoming a more responsible and self-sufficient rider. However, if at any point you feel unsure about any part of the process or the results after bleeding your brakes, we’re here to help! Keep exploring, keep learning, and ride on!
FAQs
1. How often should hydraulic brakes be bled?
The frequency for bleeding hydraulic brakes depends on your usage and the scooter model. Generally, it's recommended once every one to two years. However, if you notice any signs of poor brake performance, it's better to check and bleed the brakes if necessary.
2. How can I tell if air is trapped in my scooter's brake system?
A spongy brake lever, decreased braking power, or the scooter not stopping promptly are all signs of air trapped in the brake system. If you notice these signs, it's likely time to bleed your brakes.
3. What should I do if I can't remove all the air bubbles during the bleeding process?
If you're having trouble removing all the air bubbles, it might be best to take your scooter to a professional. They have the right tools and experience to ensure all the air is removed. At VoroMotors, we offer electric scooter servicing to help solve the problem!
4. Is it necessary to replace the brake fluid each time I bleed the brakes?
Yes, it's generally a good idea to replace the brake fluid each time you bleed the brakes. Old fluid can accumulate moisture and degrade over time, which can compromise the brake system's performance. This ensures the brake system is free of contaminants and performs optimally.
5. Can I use any type of brake fluid for my electric scooter's hydraulic brakes?
No, it's important to use the brake fluid type formulated for your scooter. Using the wrong type can potentially damage the brake system.