Repair guide · EMOVE Cruiser V2
Inside the Deck of an EMOVE Cruiser V2: Wiring in 3D
Open the deck in 3D, built from a real scooter. Move the wires with your hand, tap one to see what it does, and practice a repair before you touch your own.
Loading the 3D guide…
Parts for this job

Read the steps as text
What is inside the deck
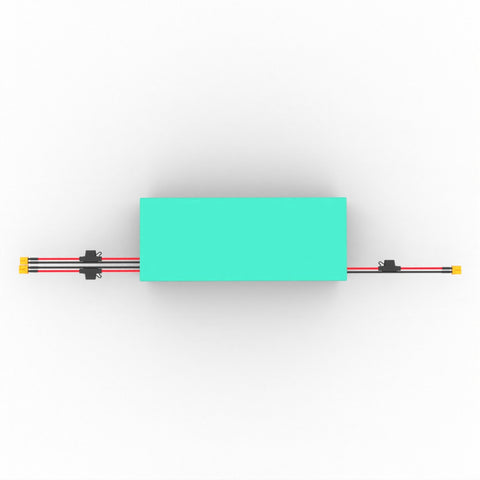
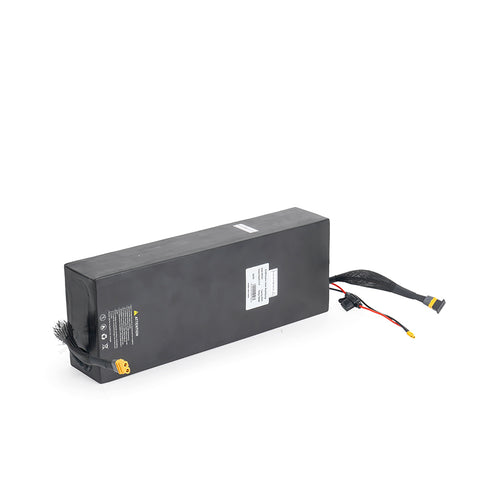
- Battery pack. The big black block, held on three velcro strips. Leads leave both ends.
- Controller. The barcode box at the front. It takes battery power and drives the motor.
- Transformer. The sealed black box behind the controller. It steps the battery voltage down.
- Battery lead, front. The thick lead in a woven sleeve. Its yellow 2-pin plug joins the controller power wire.
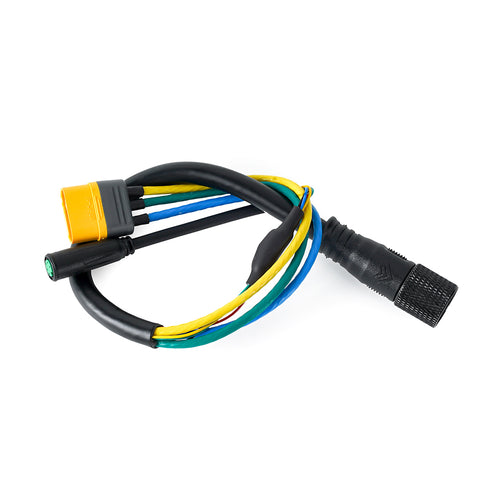
- Motor power wires. Yellow, green and blue, joining the Motor Extension Wire at a yellow and gray 3-pin plug.
- Motor Extension Wire. A short adapter ending in a big knurled round plug, which joins the rear motor cable.
- Orange tip plug. The communications cable between the controller and the transformer.
- Green tip plug on the transformer. Connects the transformer to the brake light.
- Main Connector. The molded black barrel in the wire nest. The transformer connects to it.
- Second controller plug. A small round plug on a Main Connector cable. It connects a second controller on the all wheel drive scooter. On a single motor scooter it stays empty.
- Charging Port lead. Comes from the round port on the back hump and ends in a yellow 2-pin plug.
- Battery lead, back. Goes to the charging port and, on the all wheel drive scooter, to the second controller too.
- Fused lead. A thin red and black lead with a blade fuse holder. It goes to the second controller on the all wheel drive scooter. On a single motor scooter it is not connected to anything.
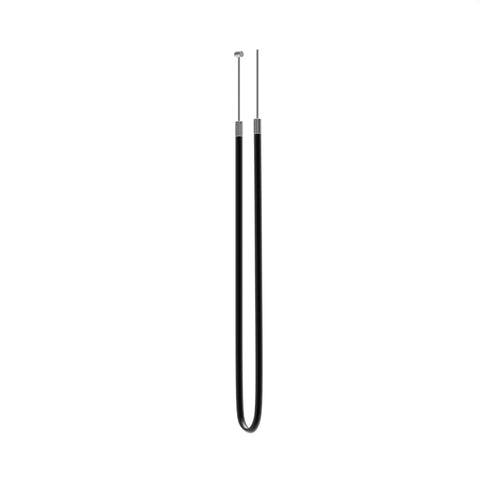
- Rear brake line. Comes through a rubber seal in the side wall near the back. If you disturb it, check the rear brake works before you ride.
Replace the controller
- Power off and open the deck. Turn the scooter off and unplug the charger. Undo the screws around the deck plate and lift it straight off.
- Unplug the battery first. Pull the yellow 2-pin plug apart by its bodies. Keep the metal ends from touching. This is always the first thing off and the last thing back on.
- Unplug the motor. Pull apart the yellow and gray 3-pin plug, then the thin plug with the green tip.
- Unplug the communications cable. Pull apart the plug with the orange tip.
- Move the transformer. Unplug its lead to the Main Connector and its green-tipped brake light plug, then lift it out. It is stuck down with tape.
- Lift out the controller. It sits on a strip of tape at the front of the deck.
- Fit the new one. Check the voltage matches your battery. Plug everything back with the battery plug last, check the brake light works, close the deck, and test with the wheels off the ground before you ride.
Take the battery out
- Power off, open the deck, and unplug the yellow 2-pin battery plug.
- Unplug the back of the battery. Its sealed yellow and gray plug is near the hump. On an all wheel drive scooter, also undo the leads to the second controller.
- Lift the battery off the velcro. Use both hands and lift straight up. It is heavy. Do not pull on the leads, never open the pack, and do not use it if the case is cracked or swollen.
- Putting it back. Press it down with the front lead toward the controller, tuck the cables along the wall so the plate cannot pinch them, plug in the back lead, then the yellow battery plug last.
Check the fuse (all wheel drive)
With the battery unplugged, follow the thin red and black lead from the back of the battery to the black holder. Pull the fuse. If the metal strip is broken or burnt, it has blown. Replace it only with the rating printed on the old fuse. If a new one blows too, stop and contact us.
Stuck on a step? Ask our team and send a photo. We will tell you what you are looking at.